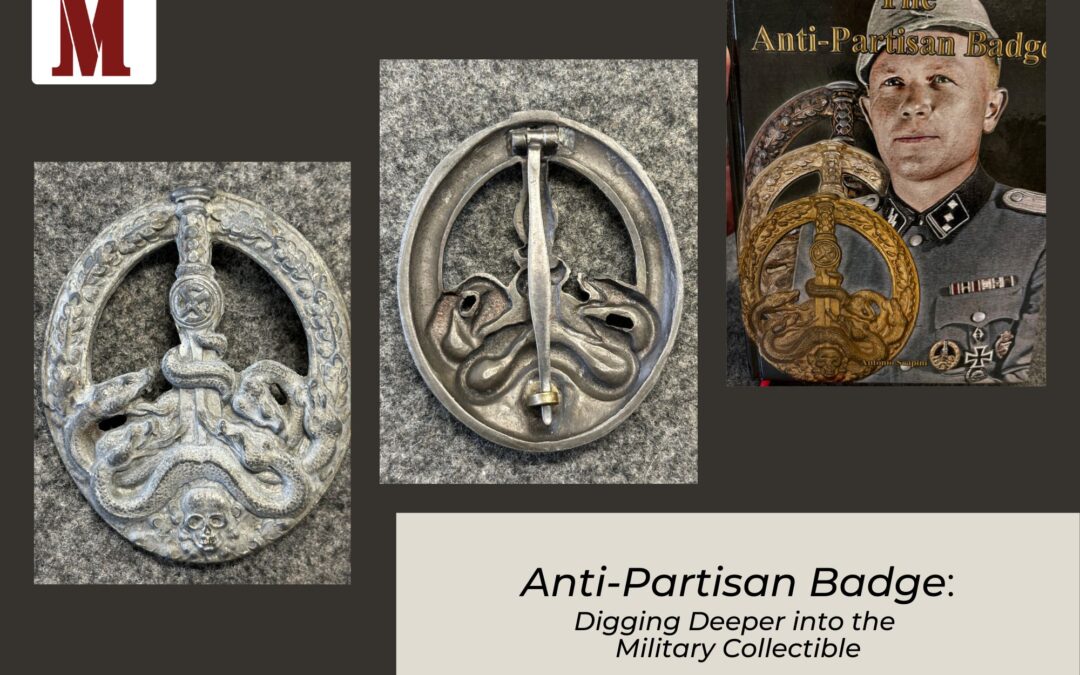
Today, I would like to discuss the WWII German Anti-Partisan Badge (APB). As the tides of war turned against Germany in 1943, the acts of sabotage and terror against German forces and Installations increased. The Germans were forced to invest resources and soldiers to combat a wide array of irregular fighters. To recognize the individual soldier’s sacrifices and accomplishments, a new Badge was created in January 1944. It was awarded in three grades: bronze, silver, and gold. The conditions for the awarding for the first grade (bronze): 20 deployment days, the second grade (silver): 50 deployment days, and for the third grade (gold): 100 deployment days. This was one of the last German war badges authorized for production. What is significant about this badge is that it was produced and awarded during a turbulent time when factories and transportation networks were bombed, occupied territory was lost, and many German units were destroyed. This created conditions of uneven awarding and distribution. The design of the badge, combined with the sinister nature of the award, made it a favorite badge of German Badge Collectors. This also led to this badge being the most copied of any Third Reich Badge. To assist the collector in validating original badges and identifying copies, B&D Publishing Company produced The Anti-Partisan Badge by Antonio Scapini. This 272-page book is well illustrated with color photographs of original badges and their documents, along with many fake badges currently being circulated. It is a must-have book for the serious German Badge collector and enthusiast.
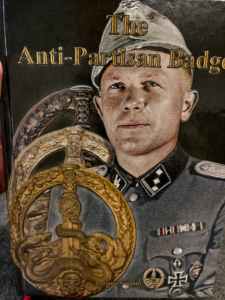
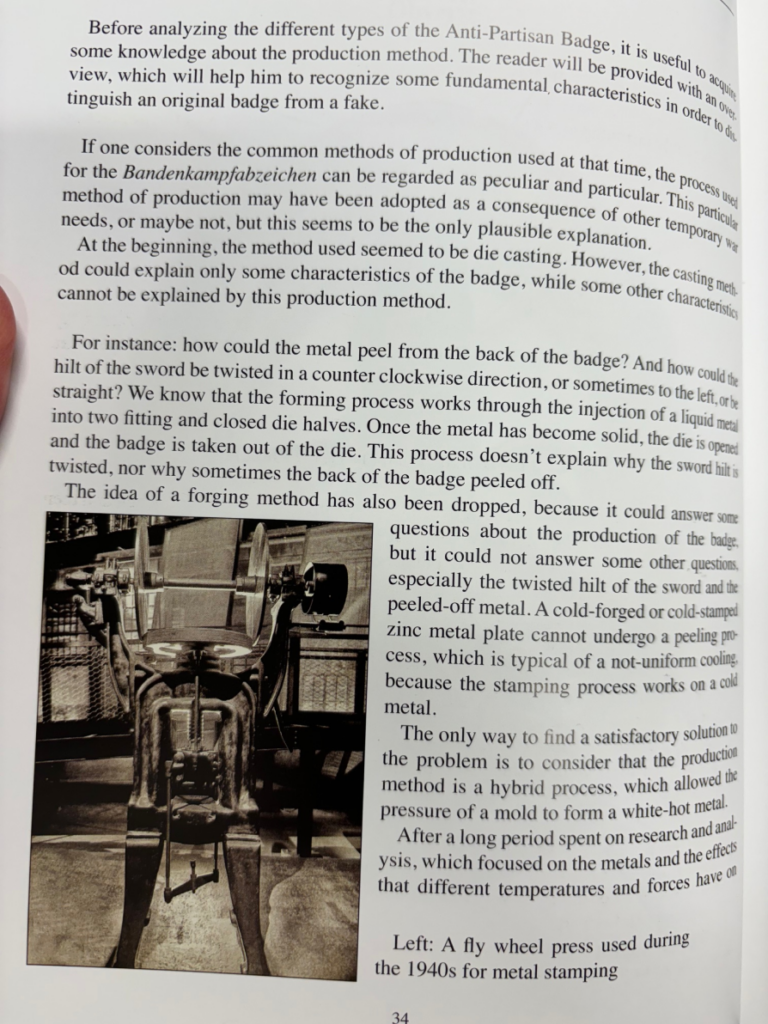
Left Image: The cover of the APB Book. Keep in mind that the author, Antonio Scapini, is Italian and some of the English interpretations of his work are awkward. Right Image: All German WWII Badges were die-struck from blanks of fine zinc metal by machines similar to this one.
C.E. Juncker Company: Anti-Partisan Badge
The primary manufacturer of this badge is the C.E. Juncker Company, Berlin. They had the reputation of producing some of the highest quality badges of this time. Their approach to making this badge is described by the author as both “peculiar and particular”. Juncker adopted a hybrid process that heated the zinc blanks and then placed them between two die halves on a work bench where they were then pressed. Two dies were used: a negative half (the front of the badge) and a positive die half (the reverse of the badge) that was fixed to a moveable part. The negative part was fixed to the work bench, while the positive part was placed manually on the press lever. This explains why the back of the badge does not have a standard shape and the hollow center pieces are often shifted to the right or the left. The pressure to form the badge was exerted manually making the badges of different weights and thicknesses. The uneven cooling of the hot metal also caused peeling as parts of the metal cooled in a non-uniform way.
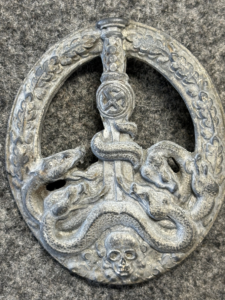
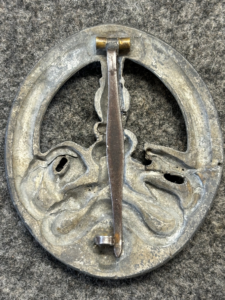
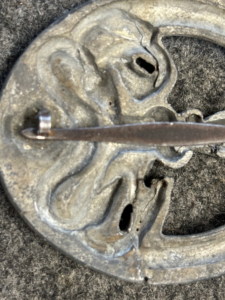
Left Image: This is the first Anti-Partisan Badge that I purchased from George Petersen over 35 years ago. It is an example of the poor-quality workmanship caused by the hybrid process. Middle Image: This is the back of the badge. This is an example of a thin badge that was damaged and repaired at the factory. Right Image: One can see where this badge is cracked and has scaling. I do not if this badge was issued or found in a box at the factory after the war.
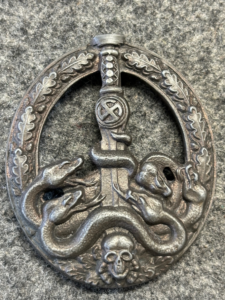
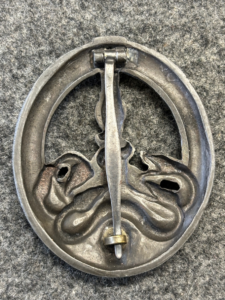
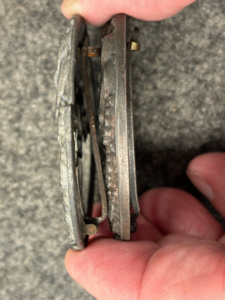
Left Image: Example of the thick Anti-Partisan Badge. One can notice that it is a nice quality badge. Middle Image: This badge has the distinctive back that one should see on all Juncker-produced APBs. One can observe the chiseled marks used to create the cutouts between the snakes. Right Image: This photo illustrates the different thicknesses between a thin badge and a thick badge. The thin badge is on the left side of the image.
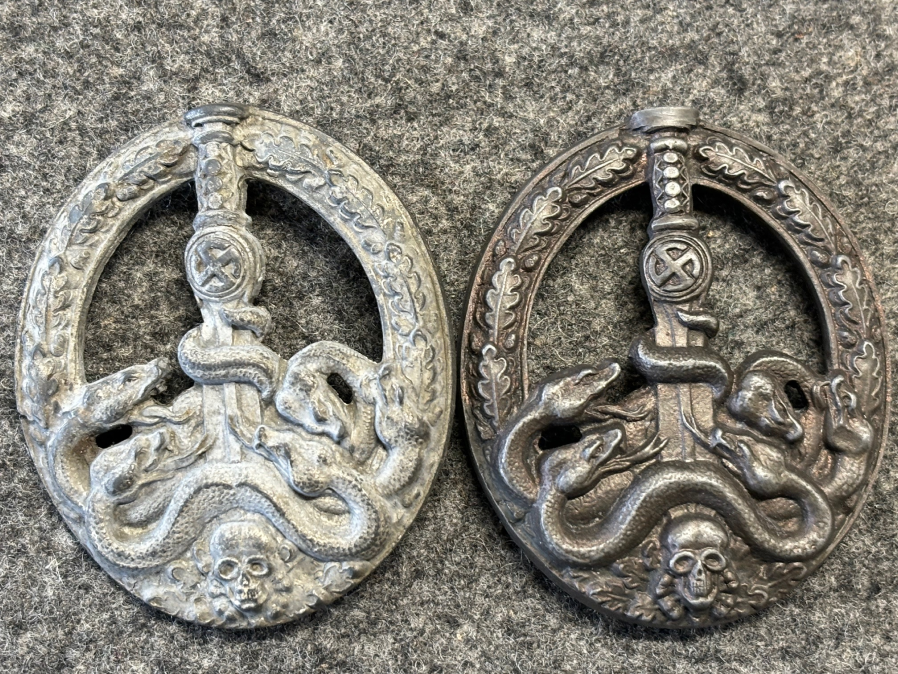
Image: Side-by-side comparison of two original Anti-Partisan Badges, both made by the Juncker factory at roughly the same time. How many differences can you spot? The badge on the left sword is tilted more to the left. Also, notice the differences in the cutout areas around the snakes. The two badges shown above fall somewhere in the Type 2.3, Type 3.1, or Type 3.2 categories, which we will discuss in our next blog.
